
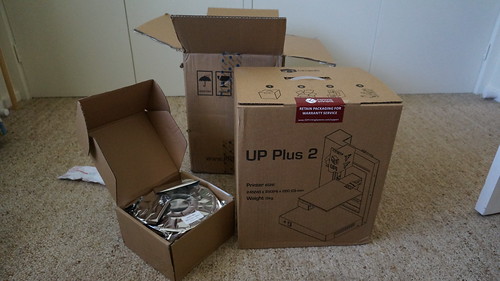
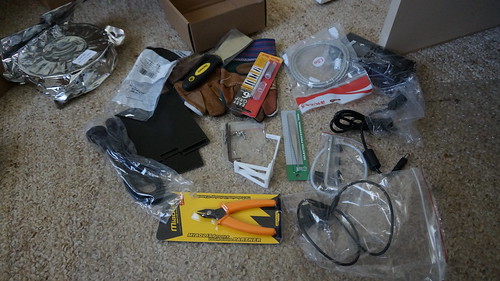
I waited about 6 working days for the delivery, missed it, had to pick it up and brought it home as quickly as I could. I opened the box, found another box, opened that and found 2 more and after unpacking them I got to the printer itself which was covered in foam. Better safely packed than sorry :D

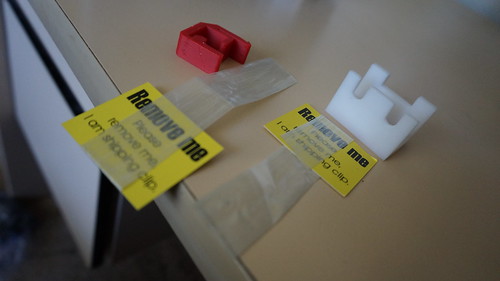
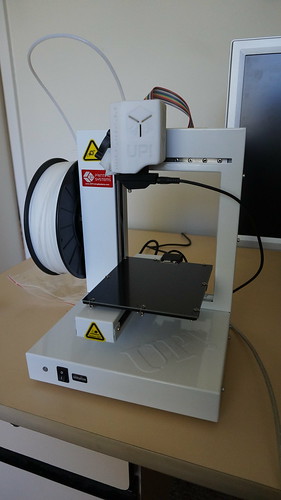
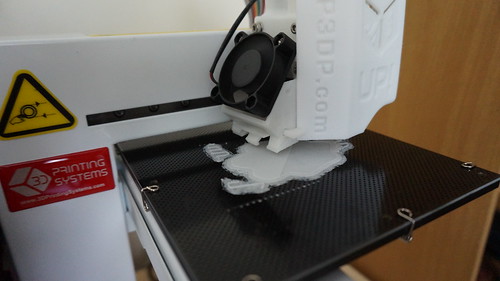
The instructions were just a tad confusing. However in about 20 mins I had everything plugged in and calibrated (all automatically done with a cable you plug into a sensor on the board and a sensor you attach to the print head.) and was ready for its maiden print.
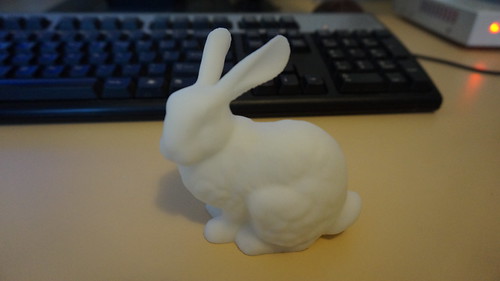
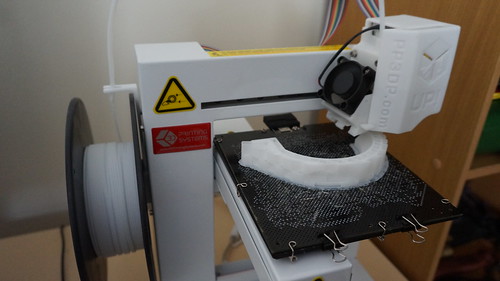
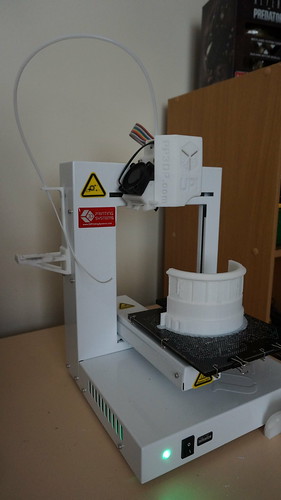
The instructions point you to a nice little bunny rabbit and give you the recommended settings for it. About 2 hours later it was done! After using a reprap for a while in a shared workshop I was completely taken back by the accuracy and level of detail this thing can print! WOW! Every over hang had been supported by automatically generated scaffolding, it didn’t peel off the print bed and it just worked first go with no hassle. This truly is a consumer grade printer.
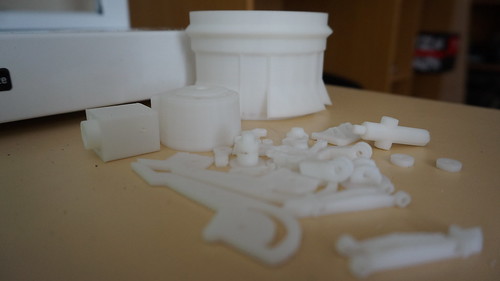
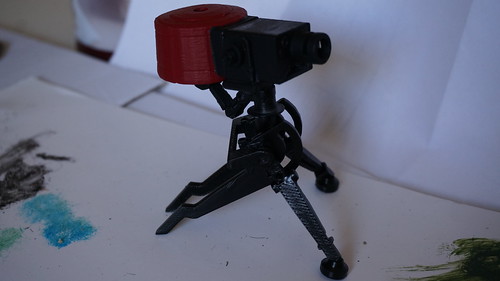
My next print was a sentry gun from the game Team Fort 2. This is something I've always wanted in 1:1 size but having a 'pet' sentry on my shelf is almost as good. Once again i was stunned. It printed a perfect 2mm round nut for the side of the sentry :D Im pretty sure there was more raft and discarded plastic than print on this one. The small parts all had a large flat area printed first to keep everything level. If you arent one to worry about wastage and just want things to print well, this one is for you.
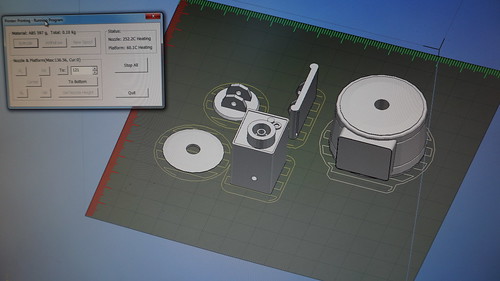
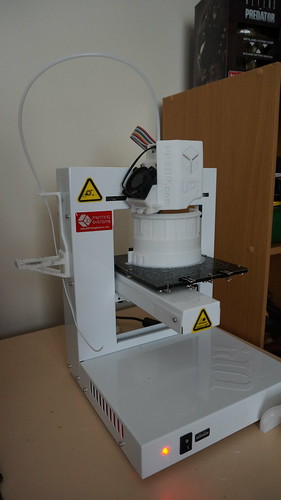
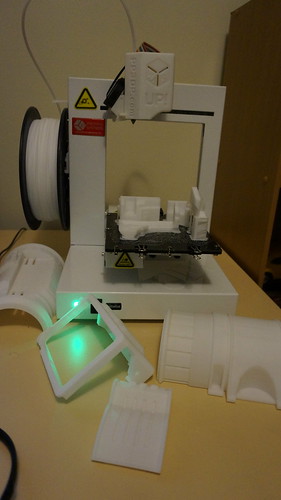
I was ready. Time for a large multi part print! The Fallout 3 Pipboy! Er... ooops....
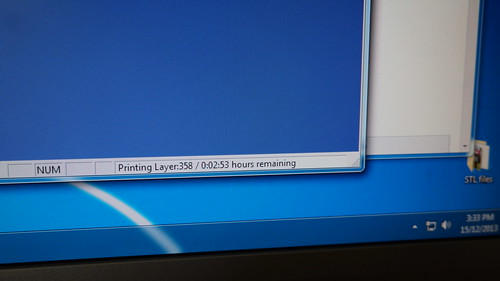
Ooops ooops oooooooops! GAH! I was literally laughing like a madman looking at the 10cm of filament left :D But wow, would you look at that perfect pipboy...
![DSC04234[1]](http://farm8.staticflickr.com/7386/11459671023_8b91fff297.jpg)
![DSC04198[1]](http://farm6.staticflickr.com/5478/11298887636_7a7d459707.jpg)
![DSC04199[1]](http://farm6.staticflickr.com/5471/11298959893_9ed1e50de1.jpg)
![DSC04200[1]](http://farm3.staticflickr.com/2868/11298923804_e5cc3a8615.jpg)
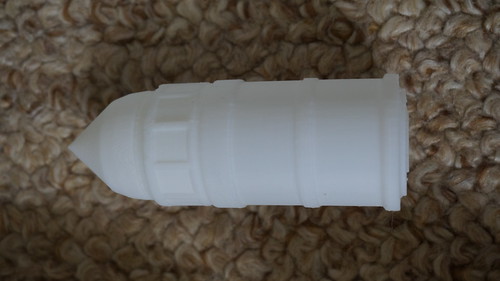
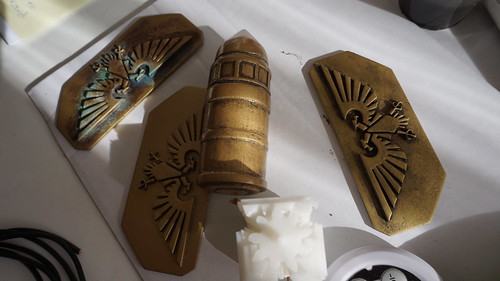
Next up was a hollow Warhammer 40k bolt shell. I've found that you need to be super heavy handed with the primer filler with 3d prints if you want to get rid of the grain. Unless there is a way to dip the pieces in filler somehow. On a slightly unrelated note, i was happy how the gold turned out with gloss varnish. Every other time the varnish would liquefy the gold and it would run. This time i misted the varnish on a few times then gave it the normal coats. It worked.
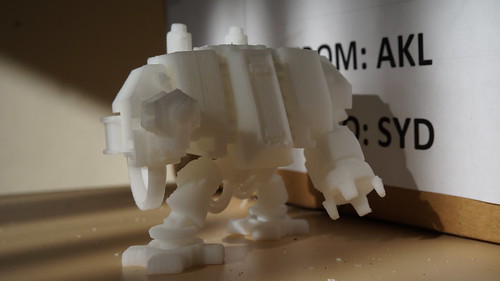
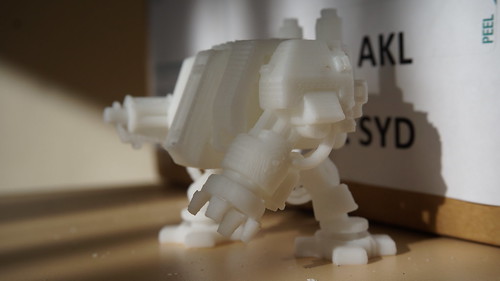
A Dreadnaught I found on Thingiverse. (I'll write down my thoughts on copyright issues with 3d printers at some point.)
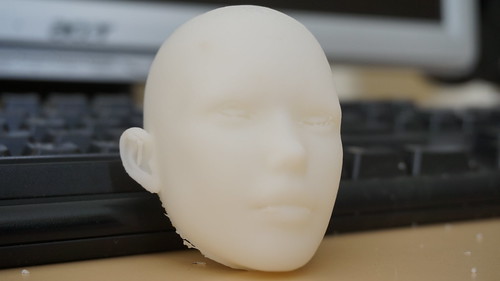
I printed a face and gave it to my mum to use as she has been making face push molds. It will need a bit of finishing before it can be used however.
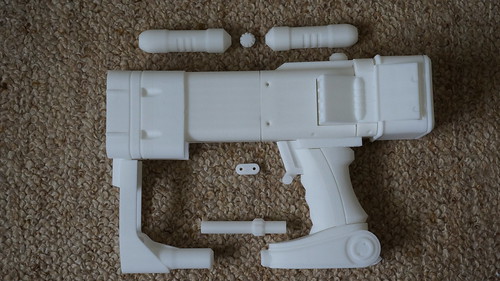
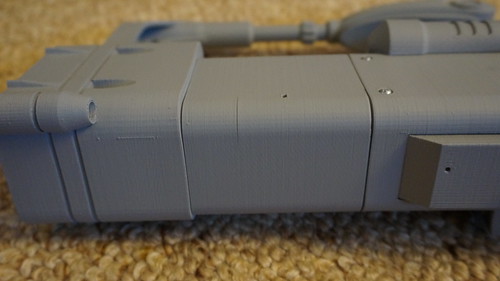
And another super long, mulit-part print, the Fallout 3 laser pistol! Each of the 12+ parts took from 3-6 hours to print. I haven't been worried about letting it print while I'm not there however it's something I've thought about. It's a 'hot' tool that sits at about 260 degC so there is some danger. On the flip side this thing hasn't missed a beat yet! (I think it had been printing for 2 weeks by this stage. Also note the amount of raft/discarded plastic!)
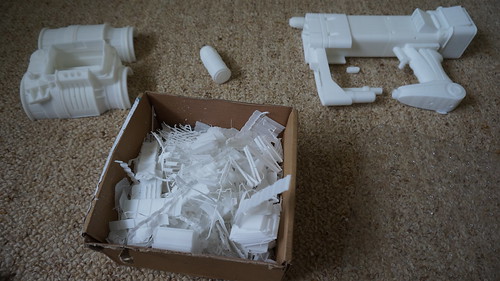
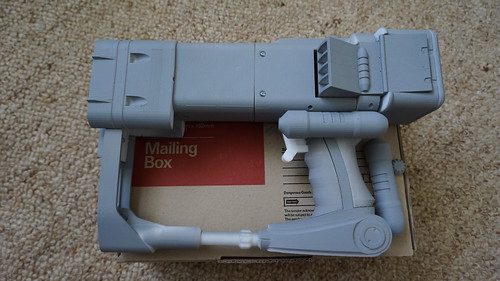
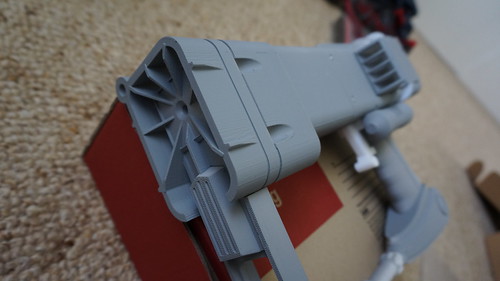
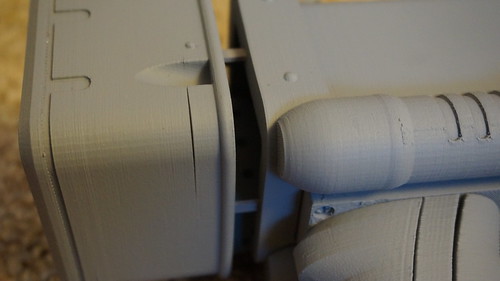
Hmm there seems to be some cracking/delamination of the layers... Nothing that filler can't fix but it's something I will be looking at later. Changing the Z axis layer resolution, changing the filament, letting it run slower instead of fast. All things to try.
Thor is here! This was a Christmas present for a Starcraft 2 fan.

The Key to Erebor model that Microsoft released as part of the Hobbit movie launch. It took a long while to find this as they never mentioned it was a UK only offer... *grumble* Anyway a good friend managed to get it while he was over there so if you want to print it yourself here is the .stl file: Key to Erebor
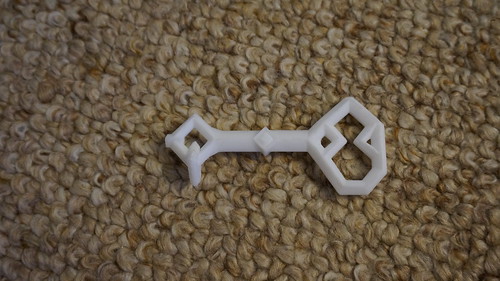
Well... this Key to Erebor (from Thingiverse) looks so much better than the MS Key to Erebor. I suppose they needed to keep things simple as most printers don't have this resolution yet.

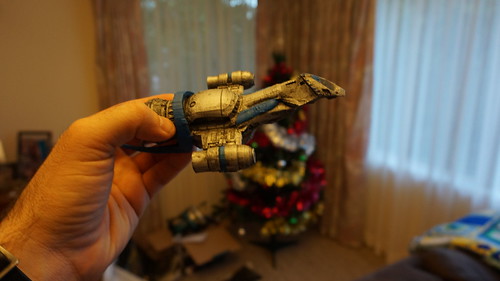
If anyone has played the Firefly boardgame they should recognise the 'Bonnie Mae' :) Or close to it anyway, I didn't really have a suitable colour.
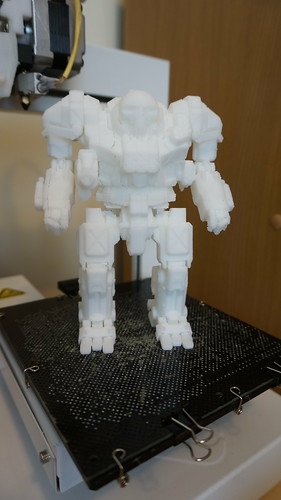
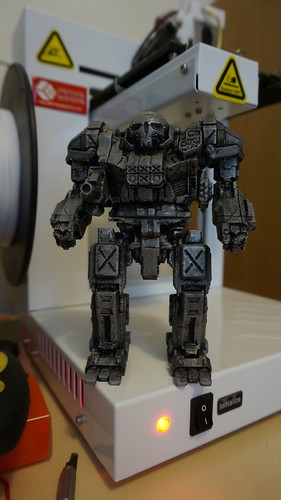
I was now attempting to learn how to convert in-game models for use in 3d printers. Does anyone play Mechwarrior Online? (Nick is Combust btw hehe) I chose an Atlas as it was large and pretty simple. Even still I had to learn how to slice it using NetFABB in a few places as it was too large for the print bed. There is an art to slicing when you aren't very good at the 3d side of things.
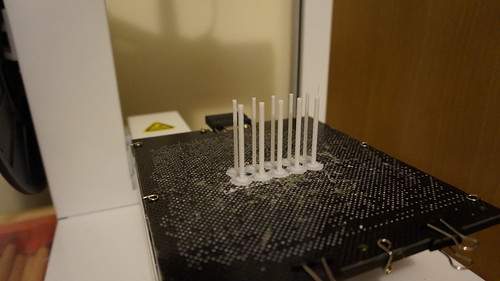
I have only designed a few models myself, a 1cm cube and the rod stock here. This image should give you an idea how amazing the printer really is.
It's not to say that I can't design 3d things, it's just I can't use the tools to do it. I designed this robot finger (top) by hand following on from an old project from about 5 years ago (ask me about it if you want to know more). A friend plonked it into blender and here is the finished result. And next to it is a finger from a guy who is building a full android and posting it on Thingiverse. *sigh* I wont let it stop me from getting my design working, however this is an example of what happens everywhere; there are many people better and more skilled than you but you can't let it stop you doing what you love.
![DSC04237[1]](http://farm8.staticflickr.com/7448/11459609576_474d1c1a16.jpg)
![DSC04238[1]](http://farm6.staticflickr.com/5472/11459661153_8047b52165.jpg)
Anyway it was at this point I was thinking about the cost of the UP brand ABS filament which is about $60 per 750gm roll (I had used 5). When you burn a roll in a week you know you have a problem. I was put onto the site 3d Printer Gear which sells High temp Ivory ABS which comes in at $40 per 1kg roll. My initial thoughts while printing a super secret print are that it's stronger but the support scaffolding doesn't come off as easily.
Stay tuned!
Great stuff! You beat me, I was working on my article yesterday, so when mine goes live (today hopefully) I'll link through to yours so people can see both our experiences with the same printer :) Loving all the images and info you included.
ReplyDeleteLooking forward to your 'super secretive print' too. It's cool how you've printed off a lot of different genre things, I've been very frugal and stuck to 'geek' things really. That image of the Pip-Boy and filament made me lol, I am almost at the end of my roll and I'm like "omg.. I need to find something small to print" haha.
Great article matey.. looking forward to your next 3d printing update!
Playtech unveils mobile betting site with mobile-first
ReplyDeletePlaytech 대구광역 출장샵 has expanded its footprint in Europe with 제주도 출장샵 a mobile-first betting site 목포 출장샵 in the UK and 평택 출장안마 Ireland. The 익산 출장샵 mobile betting site is powered by Google's Play